Painting your garage floor can improve its appearance, protect the surface, and make it easier to clean. Here’s a step-by-step guide on how to paint your garage floor:
Materials and Tools:
- Epoxy garage floor coating kit (includes epoxy paint and hardener)
- Concrete etching solution
- Concrete patch or filler (if needed)
- Degreaser
- Scrub brush or broom
- Pressure washer or hose
- Bucket
- Painter’s tape
- Epoxy-compatible roller and extension pole
- Epoxy-compatible paint tray
- Paintbrush
- Safety gear (gloves, goggles, mask)
Step-by-Step Guide:
1. Clear and Clean the Garage Floor: a. Remove all items from the garage. b. Sweep or vacuum the floor to remove loose dirt and debris. c. Use a degreaser to clean any oil or grease stains. Scrub with a brush or broom. d. If there are any cracks or holes, patch them with a concrete patch or filler.
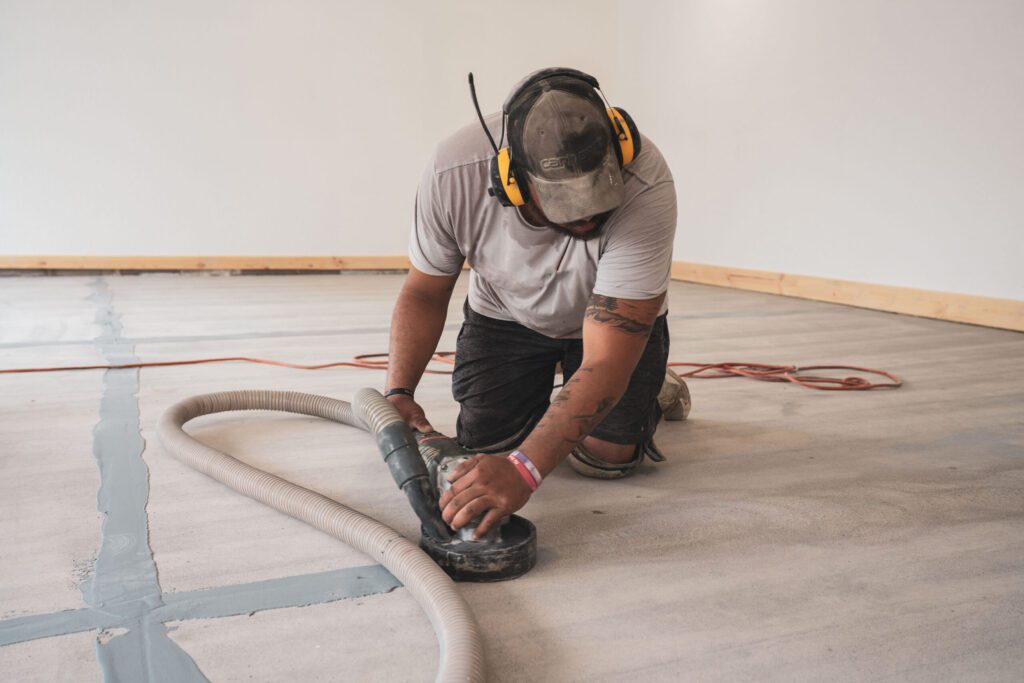
2. Etch the Concrete: a. Mix the concrete etching solution according to the manufacturer’s instructions. b. Pour the solution onto the garage floor and scrub it using a stiff brush or broom. c. Allow the solution to sit for the recommended time (usually 15-20 minutes). d. Rinse the floor thoroughly with a hose or pressure washer to remove the etching solution.
3. Let the Floor Dry: a. Allow the garage floor to dry completely before proceeding to the next step. This may take at least 24 hours.
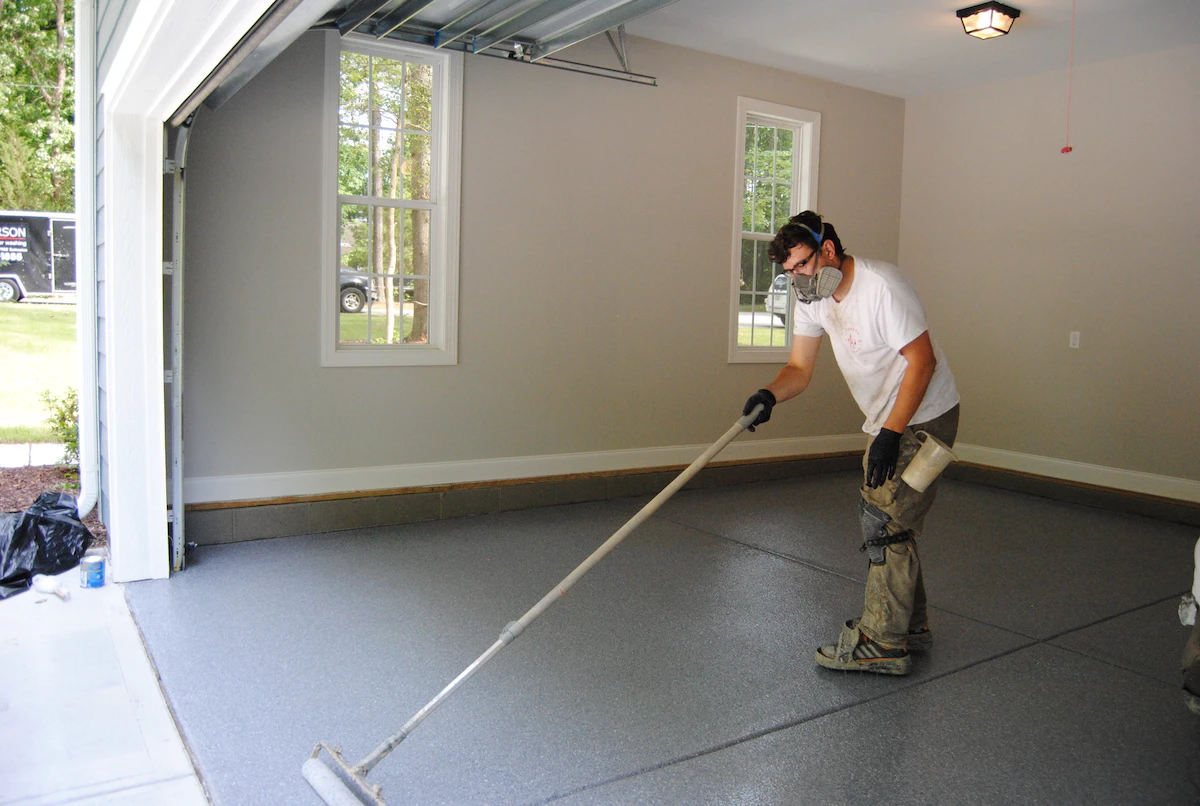
4. Tape Off and Prep: a. Use painter’s tape to tape off any areas you don’t want to paint, such as the baseboards or walls. b. Make sure the garage is well-ventilated.
5. Mix the Epoxy Coating: a. Follow the instructions on the epoxy coating kit to mix the epoxy paint and hardener. b. Stir the mixture thoroughly.
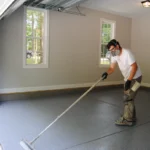
6. Apply the Epoxy Coating: a. Start by cutting in around the edges of the garage with a paintbrush. b. Use an epoxy-compatible roller to apply the coating to the rest of the floor. Work in small sections. c. Be sure to work quickly, as epoxy coatings often have a limited working time.
7. Allow the Coating to Cure: a. Follow the manufacturer’s instructions for the drying and curing time of the epoxy coating. b. Typically, it may take at least 24 hours for the floor to be ready for light foot traffic, and longer for heavy use.
8. Add a Second Coat (Optional): a. Some epoxy kits may recommend applying a second coat. If so, follow the same process after the first coat has cured.
9. Final Touches: a. Once the epoxy is fully cured, remove the painter’s tape. b. Bring back items into the garage after ensuring the floor is fully cured and hardened.
Keep in mind that the specific steps and drying times may vary depending on the product you choose, so always follow the instructions provided with the epoxy coating kit. Additionally, it’s crucial to wear appropriate safety gear, including gloves, goggles, and a mask, when working with these materials.